An Easy-to-follow Admin Panel Building Tutorial for Beginners
In the ever-evolving world of website and application development, building an efficient and user-friendly admin panel is crucial for managing and controlling various aspects of modern web applications. Laravel and Vue.js are two powerful frameworks and immensely popular amongst developers due to their ease of use, scalability, and ability to work seamlessly together.
In this comprehensive guide, we will walk you through the process of building a robust admin panel using Laravel and Vue.js. This detailed tutorial will guide you end-to-end how to create an interactive and feature-rich user interface for your web application.
Before we delve into the implementation process, let’s understand the technologies we’ll be working with.
Understanding the Core Technologies
A. Laravel
Laravel, a PHP-based framework, provides an elegant as well as expressive syntax for building web applications. Its features, including a robust ORM (Object-Relational Mapping) called Eloquent, middleware for handling requests, and built-in authentication systems, make it a popular choice for developers worldwide.
B. Vue.js
Vue.js is a progressive JavaScript framework that simplifies frontend development. With its reactive data-binding and component-based architecture, Vue.js allows for building interactive and dynamic user interfaces effortlessly.
Setting Up the Development Environment
The first step is to set up the project structure and install the necessary dependencies.
A. Installing Laravel
Using Composer, create a new Laravel project:
“`bash
composer create-project –prefer-dist laravel/laravel admin-panel
cd admin-panel
“`
B. Setting Up the Database
Configure the database connection in the `.env` file and perform the initial migration:
“`bash
php artisan migrate
“`
Creating the Backend Components
In this section, we’ll create the backend components that will handle the logic of our admin panel:
Creating Controllers
Generate a controller to handle the admin panel’s requests and responses:
“`bash
php artisan make:controller AdminController
“`
You will also need PHP installed on your computer. Download the most recent version of PHP from its website. To install, just follow the easy installation instructions. Next, you will need to install Composer, which is a dependency management tool for PHP. Composer will allow you to easily install Laravel and its dependencies. You can download Composer from the official website and follow the installation instructions.
Finally, you will need to have Node.js installed on your computer. Node.js, a JavaScript runtime, enables you to operate JavaScript on the server side. Simply download Node.js from its website and perform the instructions to install.
Once you have set up your development environment, you are ready to start building your admin panel with Laravel and Vue.js.
Creating the Database and Migrations
Once you have set up your development environment, the next step in building your admin panel with Laravel and Vue.js is to create the database and migrations. Migrations are a way to manage your database schema and make changes to it over time.
To create the database, you will need to open your preferred database management tool, such as phpMyAdmin or MySQL Workbench, and create a new database. Give it a name that is relevant to your project. Once the database is created, you can start creating migrations. Migrations are like version control for your database, allowing you to easily make changes to the schema and keep track of those changes.
To create a migration, open your command line or terminal and navigate to your project directory.
Then, run the following command: php artisan make:migration create_table_name.
Replace “table_name” with the name of the table you want to create. This will generate a new migration file in the “database/migrations” directory of your project.
Open the migration file and define the schema for your table using the available methods, such as “create” and “addColumn”. Once you have defined the schema, save the file and run the following command in your command line or terminal: php artisan migrate. This command will execute the migration and create the table in your database. Repeat this process for any additional tables you need to create.
We build an admin panel for you. Why wait? Enquire now!
Build Your admin panel Now
We are here to customize your immediate needs and launch your product on time within the defined budget.
Please share your requirement and get ready to see how AKRATECH can build your MVP in no time.


Building the Authentication System
After setting up the database and migrations for your admin panel with Laravel and Vue.js, the next step is to build the authentication system. This will allow users to register, login, and access different parts of the admin panel based on their roles and permissions.
To start, you will need to create a new controller for handling authentication. Open your command line or terminal and navigate to your project directory.
Next, you need to run the command “php artisan make:controller AuthController”
This will generate a new controller file in the “app/Http/Controllers” directory of your project. Open the controller file and define the necessary methods for registration, login, and logout. You can use Laravel’s built-in authentication methods and functions to handle these processes.
Once you have defined the methods, save the file and open your routes file, located at “routes/web.php”. Add the necessary routes for registration, login, and logout, pointing to the corresponding methods in your AuthController.
For example, you can use the “Route::post” method to handle the registration form submission and call the “register” method in your AuthController. Finally, you will need to create the necessary views for the registration and login forms.
Laravel provides a convenient way to generate these views using the “make:auth” command.
Run the following command in your command line or terminal: php artisan make:auth. This will generate the necessary views in the “resources/views/auth” directory of your project.
You can customize these views to match the design and functionality of your admin panel. With the authentication system in place, users will be able to register, login, and access different parts of the admin panel based on their roles and permissions.
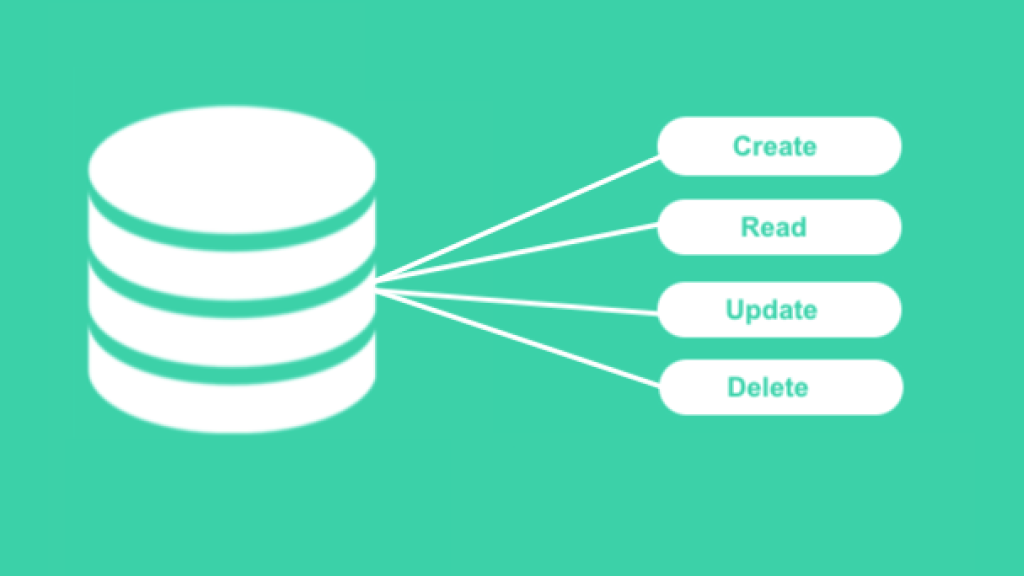
Creating CRUD Operations for Managing Data
Once you have set up the authentication system for your admin panel using Laravel and Vue.js, the next step is to create CRUD operations for managing data.
(CRUD stands for Create, Read, Update, and Delete, which are the basic operations for managing data in a database).
To begin, you will need to create a new controller for handling the CRUD operations. Open your command line or terminal and navigate to your project directory. Then, run the following command: php artisan make:controller DataController. This will generate a new controller file in the “app/Http/Controllers” directory of your project.
Open the controller file and define the necessary methods for creating, reading, updating, and deleting data. You can use Laravel’s built-in functions and methods for interacting with the database. Once you have defined the methods, save the file and open your routes file, located at “routes/web.php”. Add the necessary routes for the CRUD operations, pointing to the corresponding methods in your DataController.
For example, you can use the “Route::get” method to handle the read operation and call the “index” method in your DataController.
Finally, you will need to create the necessary views for displaying and managing the data.
Laravel provides a convenient way to generate these views using the “make:crud” command. Run the following command in your command line or terminal: php artisan make:crud.
This will generate the necessary views in the “resources/views/data” directory of your project. You can customize these views to match the design and functionality of your admin panel. With the CRUD operations in place, you will be able to create, read, update, and delete data in your admin panel.
Conclusion
By building an admin panel using Laravel and Vue.js, you get a powerful combination of backend capabilities and frontend interactivity. With Laravel’s seamless database handling and Vue.js’s reactive UI components, you can create an admin panel that not only looks impressive but also streamlines your web application’s management.
By following our comprehensive guide, you now have the knowledge and tools to build a feature-rich admin panel for your projects of any complexity. Whether you’re managing users, data, or generating reports, Laravel and Vue.js will prove to be invaluable assets in your development stack.